Photographs can make wonderful play props, and can be used to encourage social/emotional development as it relates to building relationships with adults and peers, especially those who our young children don’t see on a daily or regular basis.
In the corresponding podcast episode, “Building & Supporting Relationships,” I used my DIY Photo Mailbox as a tool to use these images in an interactive play context.
One of the easiest ways we can support those relationships is through photographs.
We know that even very young babies prefer to look at people (specifically, faces) over objects, and when alert and calm, are very much interested in engaging socially.
I know we live in an age where we often have more photos on our devices than printed throughout our homes, but I encourage you to keep a few prints of important family members or close friends in a safe place and accessible to your little one.
This will allow you to engage naturally with them, and incorporate them into play, reading, or musical activities whenever possible.
I try to keep a few of my favorite photos of close family and friends in our home – we keep some in a photo album.
Some, I’ve laminated and affixed to small cardboard pieces to make them more durable and easy to handle.
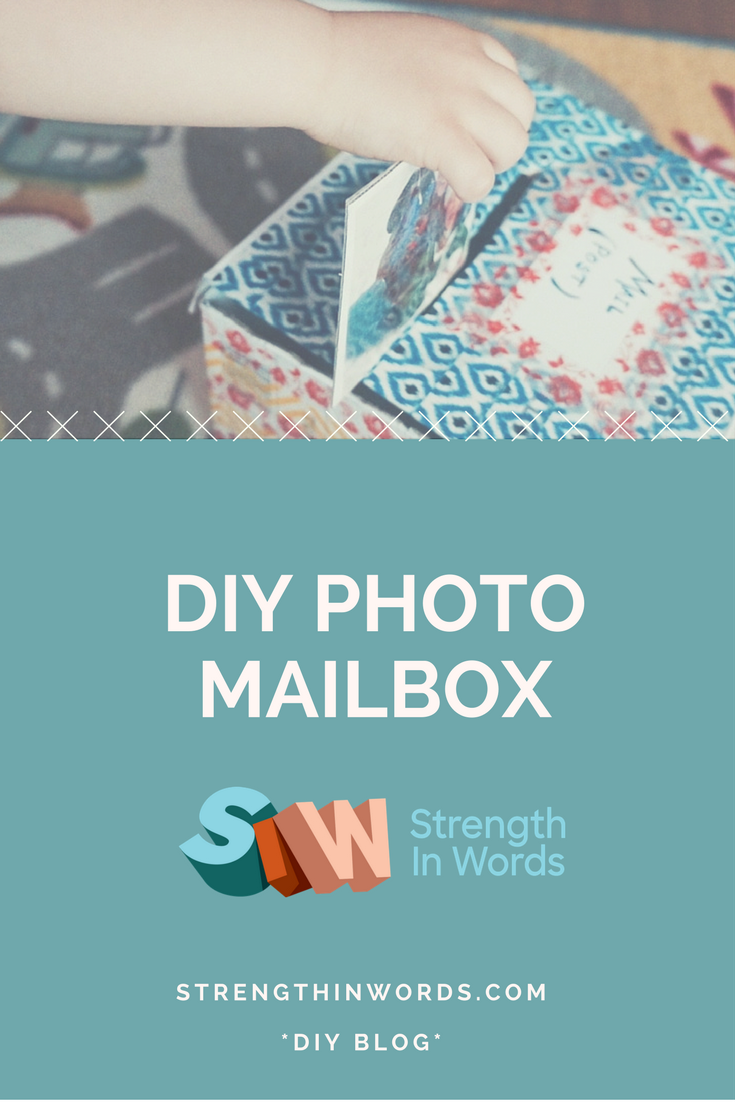
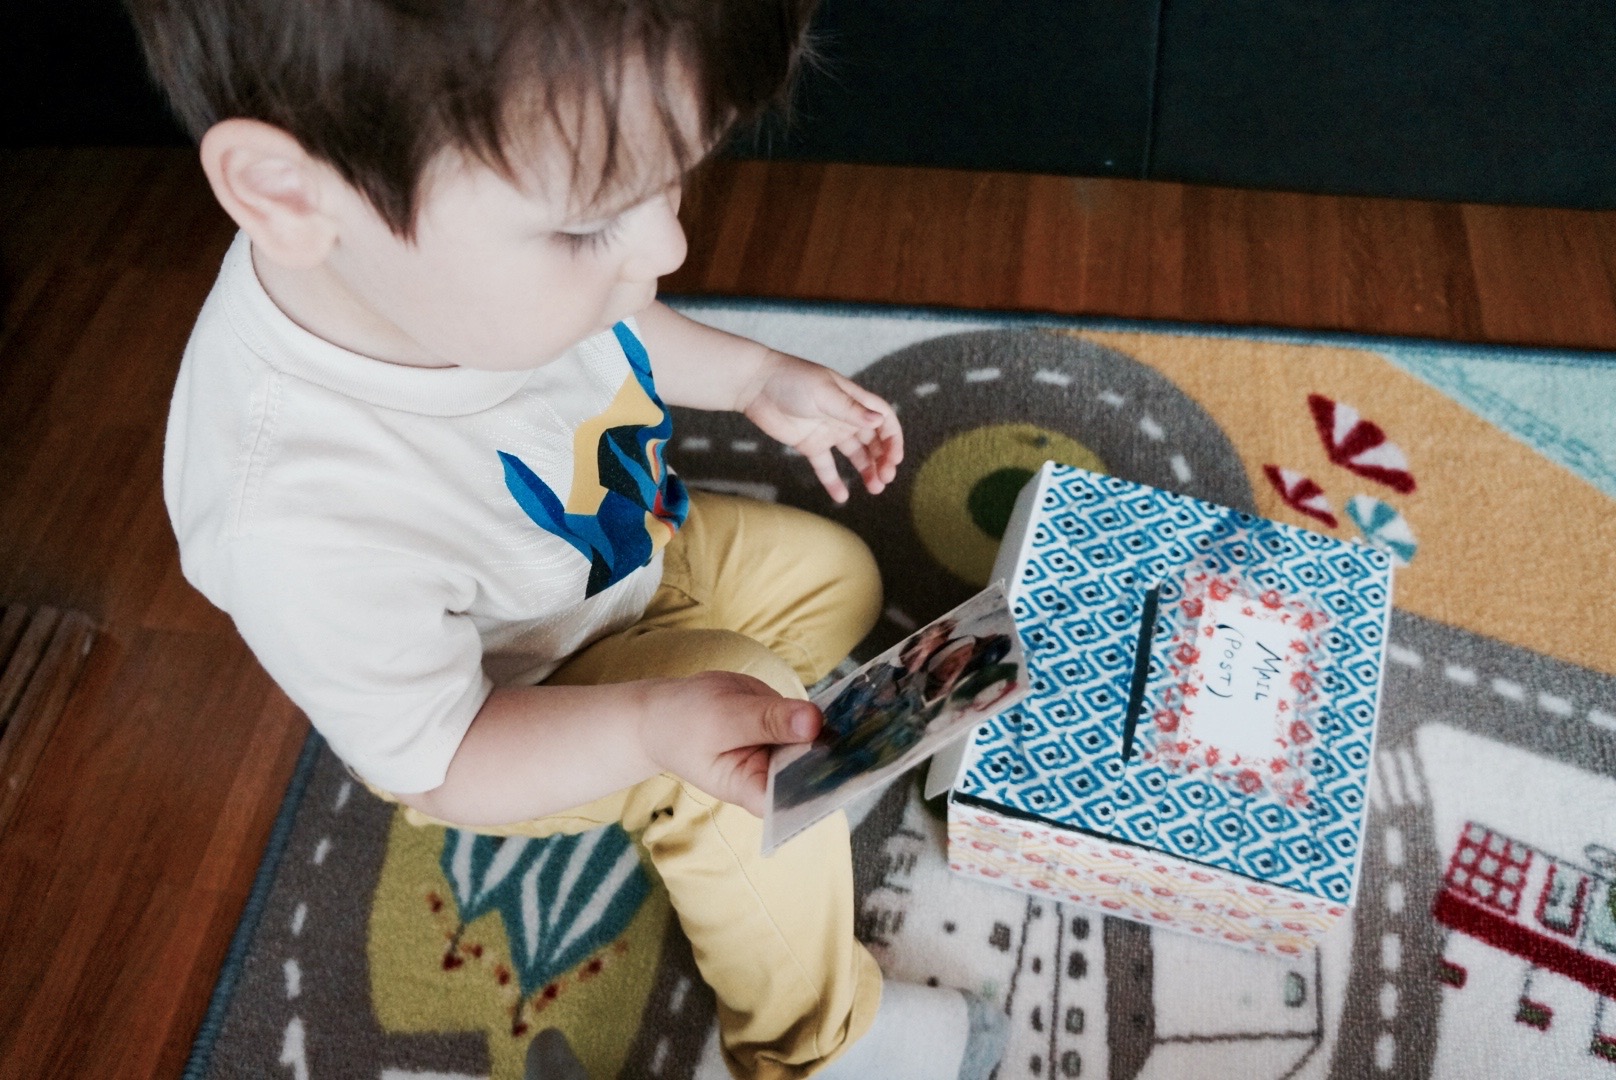
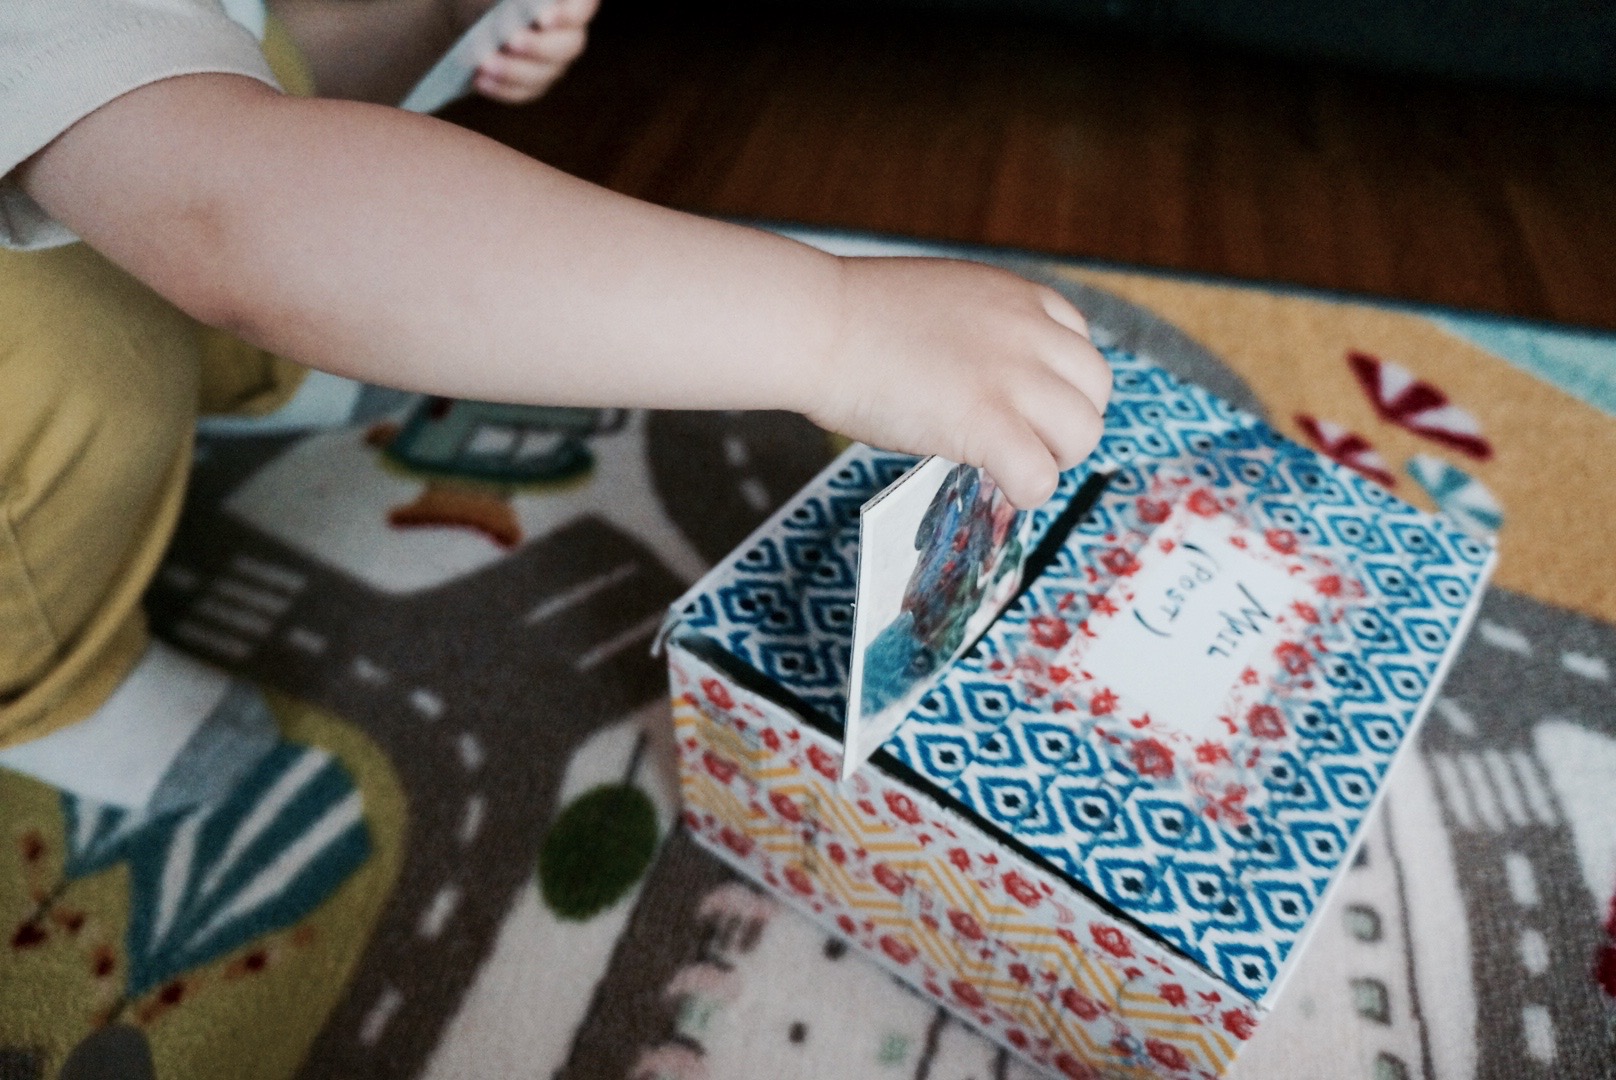
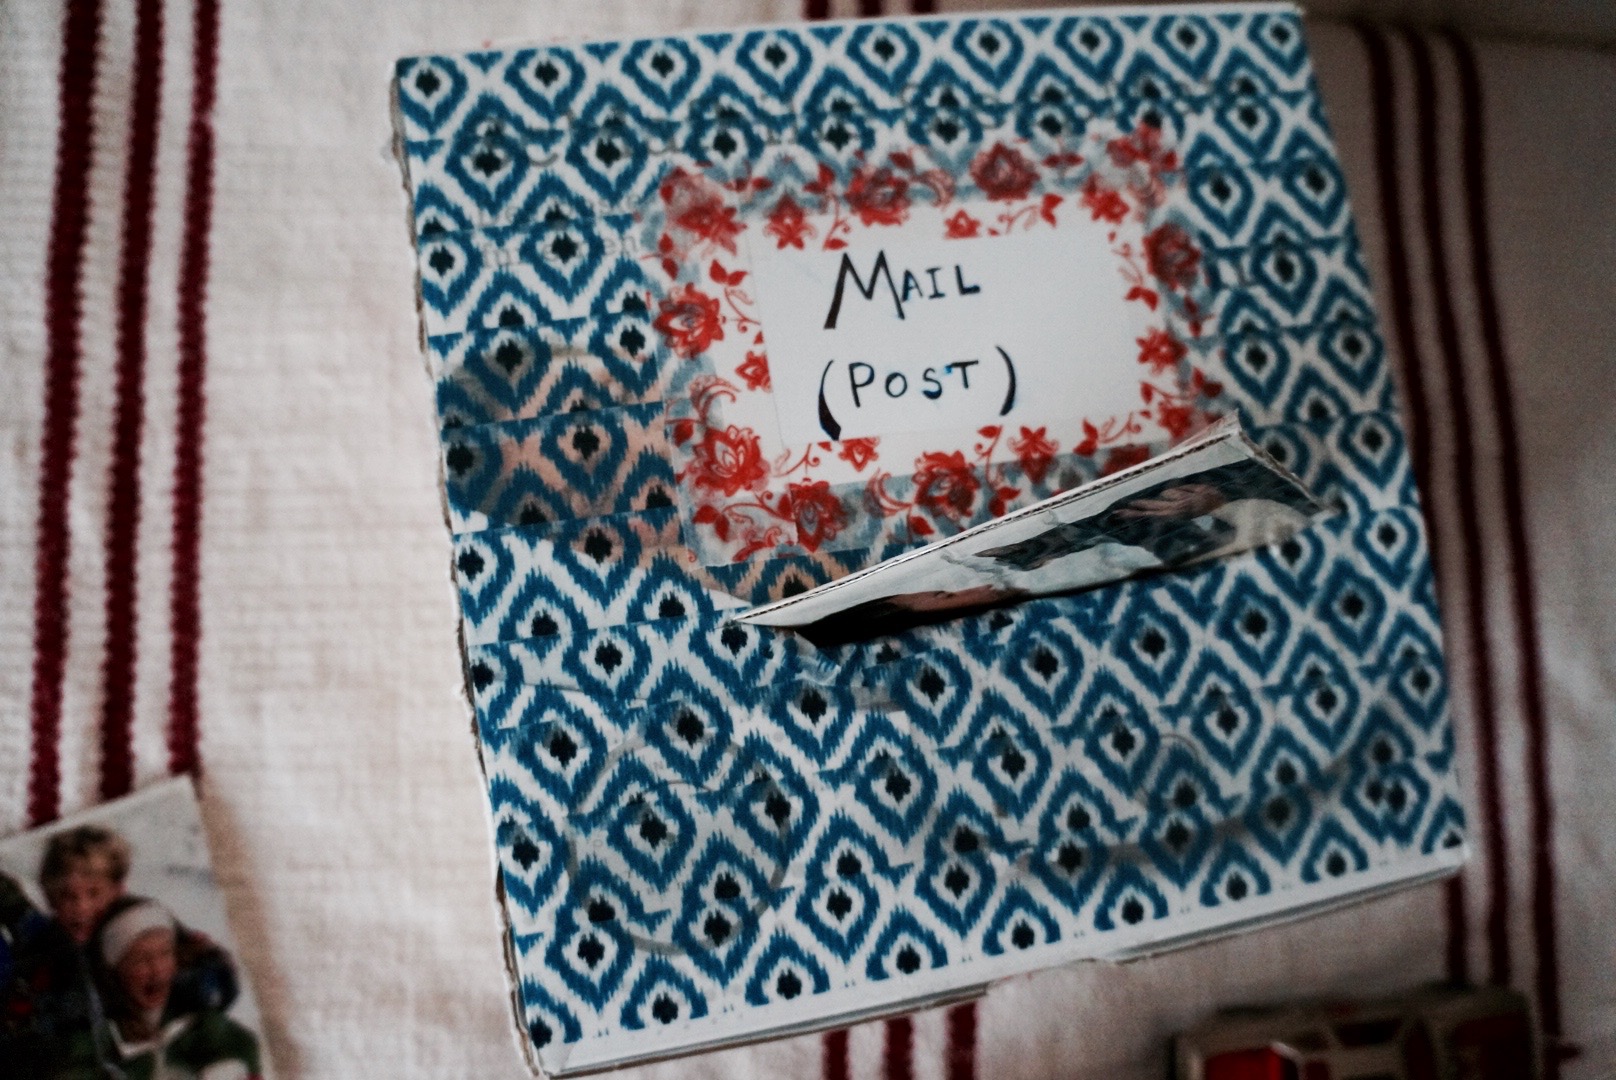
I also keep a small cardboard box (think around the size of a shoebox) that I’ve cut a hole in, and decorated to look more like a mail box.
Here’s what you need to do to make your very own!
Don't Miss our Corresponding Podcast Episode!
Materials to create your DIY photo mailbox:
- 1 cardboard box (top and bottom, can be attached on one side or completely separate pieces) – about the size of a shoe box or slightly smaller
- Small knife
- Decorating materials (washi tape, craft or construction paper, pens, etc.)
- An assortment of photographs (you can cut them down to size to fit your box’s hole) – of loved ones (family, close friends, dearly departed, family pets) or even of special places
- Cardboard pieces, sized to photos (to ensure the photos are reinforced and easier to manipulate)
- Packaging tape, laminator or adhesive tape
Instructions to create your DIY photo mailbox
- Decorate your box as you see fit, to make it look more like a “mail box”
- Cut a hole in the top of the box (about 1 centimeter wide and long enough to fit your photos, so approximately 4 inches or so). Ensure you can still open the box to get the photos out easily!
- Laminate or protect your photos with tape, and affix them to their same-size pieces of cardboard (I simply wrapped the packaging tape around the photo and cardboard together)
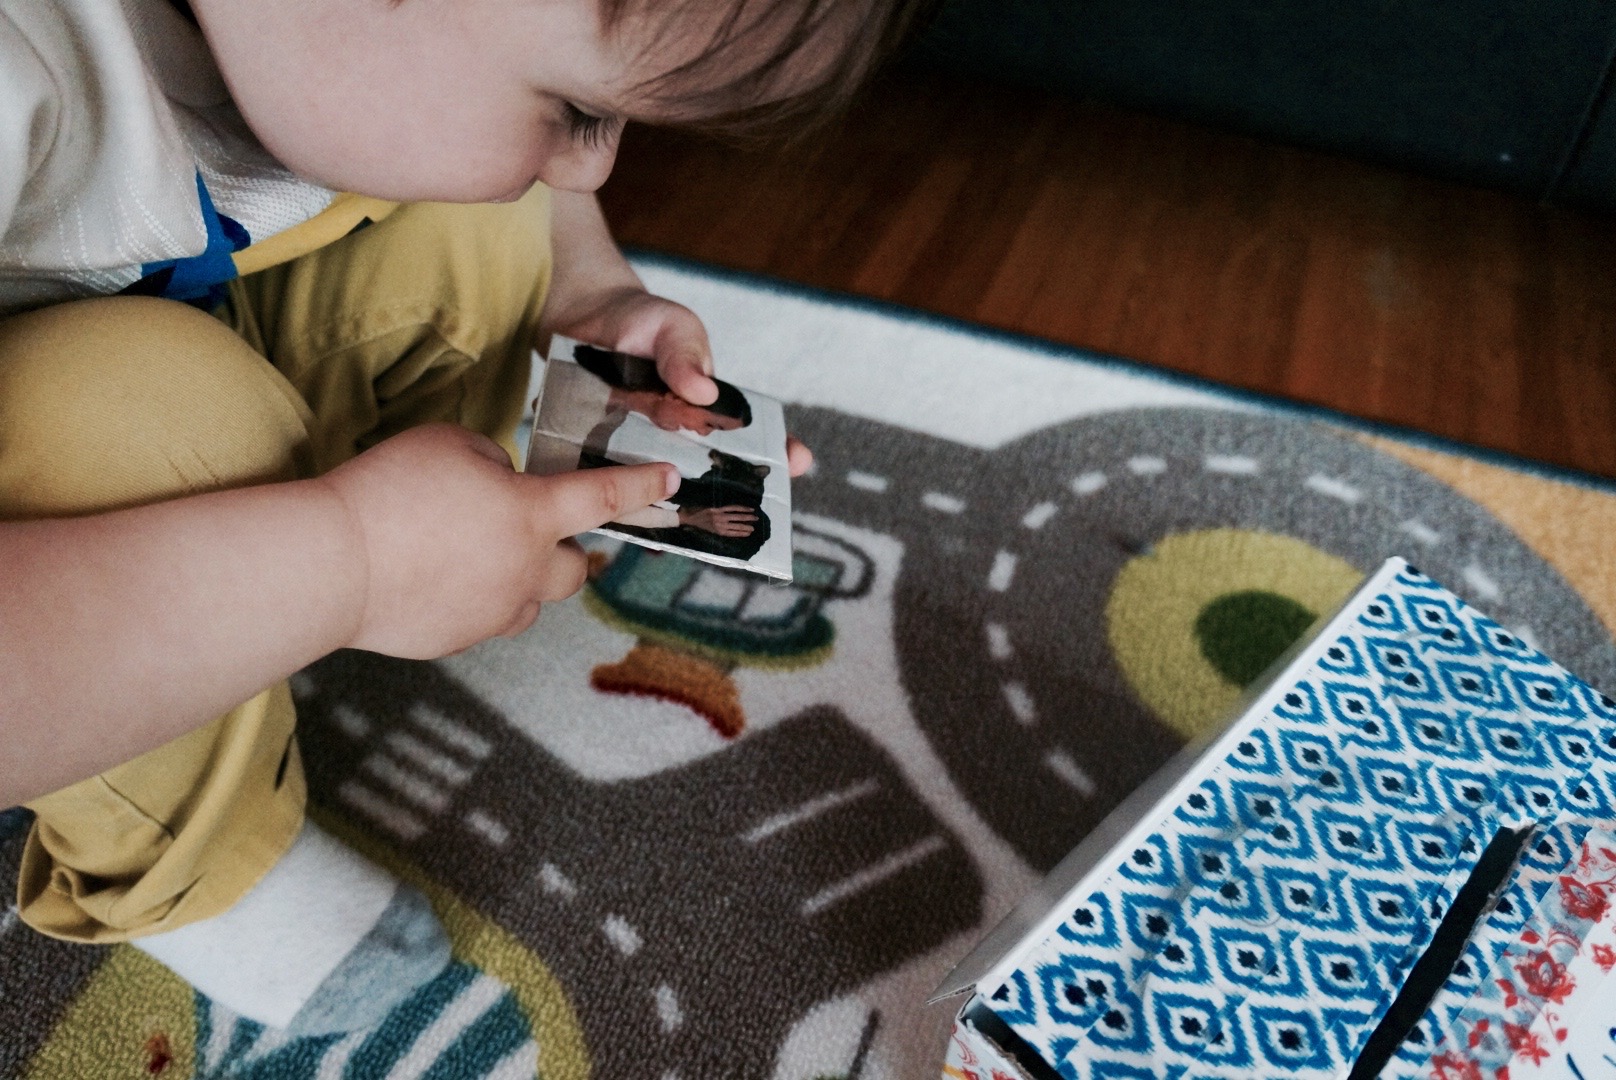
- Let the photo play ensue!
- Sing the same little, “Knock, knock… who’s there?” (or your own!) repetitive chant to begin before you/your child chooses another photo. This helps your child to learn to anticipate the steps to a ritual or social routine.
- Allow for “open-ended” narrative – you might tell the same story about the photo, or you might vary it slightly, talking about different aspects of the person or scene
- Pause and wait for an emergently verbal child to say something about the photo, then expand on what they said.
- Pause and wait for an infant/toddler who is beginning to use gestures to point to or touch something that they notice, and talk about that.
- Pause and wait for an infant/toddler who is gazing at a particular picture or part of the page, model the pointing gesture, and talk about that.
Ages
- From around 6 months, when infants are typically starting to sit up by themselves and are exploring in new ways with their newfound fine motor (picking things up more precisely) and gross motor (sitting, rolling, even potentially starting to crawl…), they may enjoy the act of putting in and taking out (in this case, the pictures in and out of the box)
- Infants and toddlers of any age will benefit from hearing about the people, places or animals in the photographs, building associations and experiences with the images while at the same time, bonding with you!
- Any time after you have introduced writing or drawing materials to your infant or toddler (even if it’s “painting” with food!), you might also incorporate the following ideas:
- Write letters to loved ones in faraway places (and putting them in your mailbox)
- Draw pictures for loved ones in faraway places (and putting them in your mailbox)
- Choosing who to write to by selecting from your photographs – for a pre-verbal child, this can be a powerful way to allow your child to make very clear choices – see my podcast episode “Routines & Rituals” and corresponding DIY Blog post “Animal Images” for more instructions about how to present them.
This post contains affiliate links. All activities described by Learn With Less assume close and continuous supervision of the child by an adult.
Such a cute idea! Love this – and all children enjoy posting things!
toddlerapprovedtuesday
Thanks, Sarah!
For a more complete description of how I used it in the podcast, please enjoy Episode 8: Building & Supporting Relationships here on the website: https://learnwithless.com/podcast/2016/4/5/building-supporting-relationships
or on iTunes: https://itunes.apple.com/us/podcast/podcast-strength-in-words/id1085976366?mt=2
ToddlerApprovedTuesday my little box loves playing postman this would be perfect project to make with him
Love this idea! I think my daughter would love this activity!
Yay! I hope she does 🙂 It’s been a hit around here – lately, we’ve taken to posting pictures of animals from magazines, as well!
Lovely idea, children enjoy posting things.
Thanks for sharing with #LetKidsbeKids
This is a lovely idea. I think it’ll be especially beneficial for babies/toddlers whose grandparents and other relatives live far away. Thanks for sharing on #ToddlerFunFriday
Thanks, Tina! Yes – that applies to my own family, and it’s been a great way to integrate far away family!